Video Transcription
hey guys welcome back to Montavue today
i'm going to be doing a short video
detailing how to set up a trip wire on
your monteview ptz camera
also for the folks that own an mtz 8250
i'm going to go over how to set up auto
tracking in conjunction with the ptz
tripwire that we're going to be setting
up today okay so the first step in this
process is we're going to want to set up
a preset now we do have a video
detailing just how to do presets
but just as a refresher
all we've got to do is position the
camera where we want to set up that
preset and keep in mind this is also
going to be where your trip wire is
going to show up all right so once we
have that location picked out we're
going to hit the big arrow on the right
side and then we're going to choose this
little gear wheel icon towards the lower
right corner
next we're going to make sure it says
preset 1
and then we're going to hit setup and
then of course you'll get confirmation
that it worked by looking at the preset
1 in white lettering towards the upper
left corner
next we're going to jump into the main
menu
and we're going to select ai
all right so after we choose ai and
we're inside the artificial intelligence
menu we're going to click on parameters
on the left side and open up smart plan
now my ptz camera is actually on channel
seven so initially it's going to try to
jump on channel one
and it's going to tell me that the ptz
does not have a preset setup
so if you guys fail to set up a preset
prior to going to this channel this will
be the error message you guys get but
you'll notice i'm going to switch to
channel 7 where i do have a preset
located and then i'm going to make sure
that it says preset 1
in that box next i'm going to add that
preset to the list and you'll see it
there and then we're going to click the
little light bulb down there and we're
going to turn it blue this is activating
the smart plan for preset one
don't forget to hit apply after you're
done just to save those changes
okay so next we're gonna click on ivs
and again it's gonna prompt me for that
channel one stuff but i'm gonna change
it to channel seven
and then the first thing i wanna do is
click the add button in the lower right
corner that is going to create a
tripwire
so in order to draw the actual tripwire
we're going to click on this little
pencil icon underneath draw
and it's going to take us to a full
screen live view of that camera
so the first thing i'm gonna do is i'm
gonna make sure it's set to preset one
i'm gonna name it video you guys can
name it whatever you want or just keep
it roll one and then i'm gonna make sure
my ai recognition is checked and
activated next i wanna draw the tripwire
so in order to draw the tripwire
just simply left click anywhere on the
screen and that will begin the line
then for every subsequent left click
that you perform it will actually change
the angle of the line
this allows you to put multiple vector
points in a single tripwire
so once you've got the tripwire down the
length of well in this case the parking
lot or whatever you guys want to cover
with the tripwire right click a single
time to finish drawing the wire and
solidifying it onto the screen
and once you guys right click and
solidify you'll notice that it does say
it'll say rule one or in this case it'll
say video whatever you've named the
tripwire
and at that point the trip wire is
ready to roll
so again i'm going to double check my
options here in the black box and
everything looks good i'm going to left
click on ok
that's going to take me back to the ivs
screen now here i want to click on
trigger
now this is the little gear wheel
underneath trigger and this is going to
have some options that pertain to the
tripwire directly
so most of the default settings you're
going to want to keep as they are so of
course we want to record the channel and
we want to log every tripwire activation
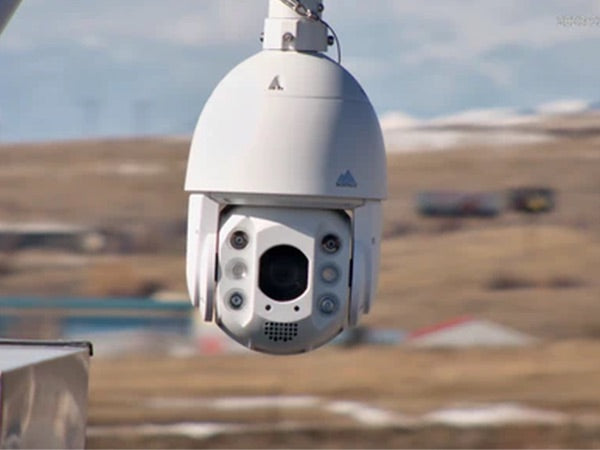
also if you have the mtz 8250 you're
going to see the track time and the
tracking options down below
so if you do want to do it auto tracking
you want to make sure that
it is set to
on
and then you want to set your track time
by default it's going to be at 30
seconds the track time cannot be set to
any less than 15 seconds
okay so once we get all that set up
don't forget to hit apply at the bottom
right corner
and then we're ready to go test out that
tripwire now again i'm on an
mtz8250 so i'm going to show you guys
what that looks like with the auto
tracking when the trip wires crossed so
i've got a few examples here of some
vehicles and of some people and you can
see that
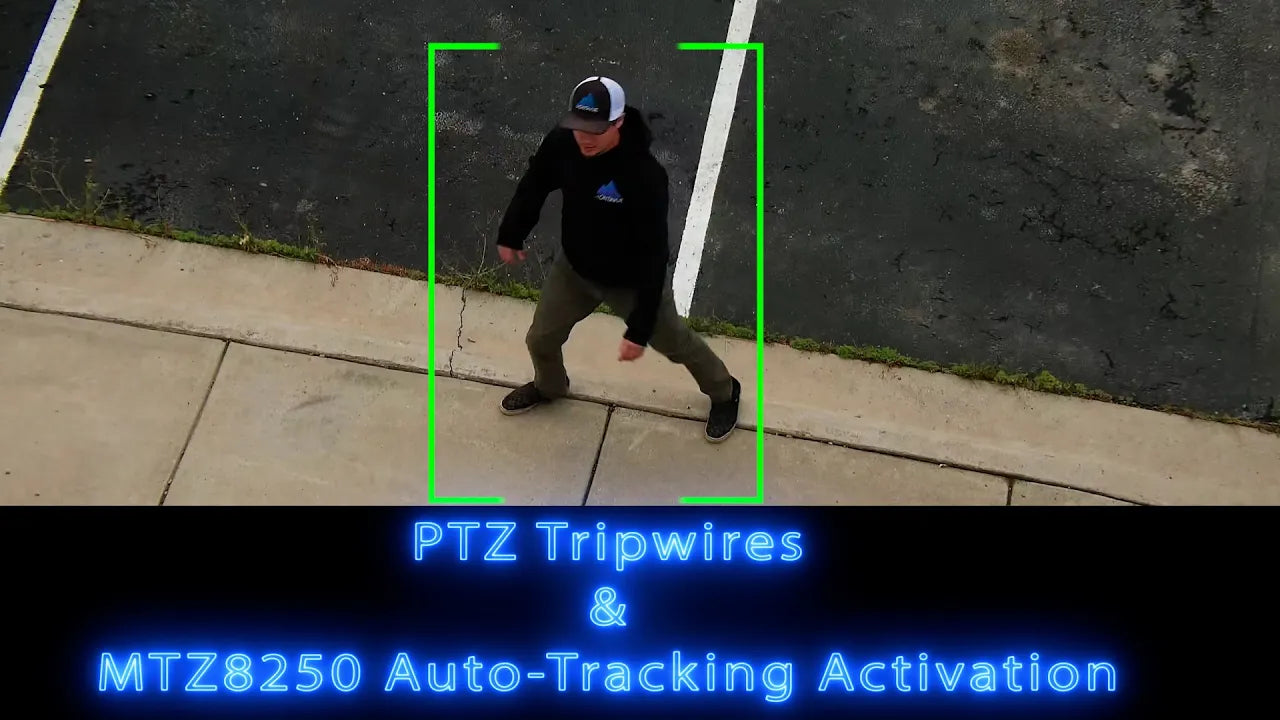
it actually puts a yellow box over any
vehicle
and it puts a blue box over any humans
this is the ai actually in progress
determining what vehicle and what is a
person
once a subject crosses the line it's
going to turn that into a red square
indicating that that is the target that
it is now actively tracking
it will track the target until they've
left the area or until the track time
has expired
in this case both targets leave the area
or they go out of view
and then when it's done the ptz will
return back to preset one
keep in mind that in order to have these
trip wires activated and ready to roll
you guys need to put these cameras on
the preset that has the tripwire
if you log on on monteview go or on your
nvr and you actually move your camera
around with the ptz controls it's really
important to remember that you actually
set it back to the preset with the
tripwire in order to have that activated
when you're not at the controls
all right guys that is pretty much all
i've got for you kept it short for this
video if you guys have any questions of
course give tech support a call we're
always happy to help you guys out with
anything that you need
and thank you again for joining
Montevue we're looking forward to
supplying more videos here in the future
so you guys stay tuned thank you for
joining us and have a good day