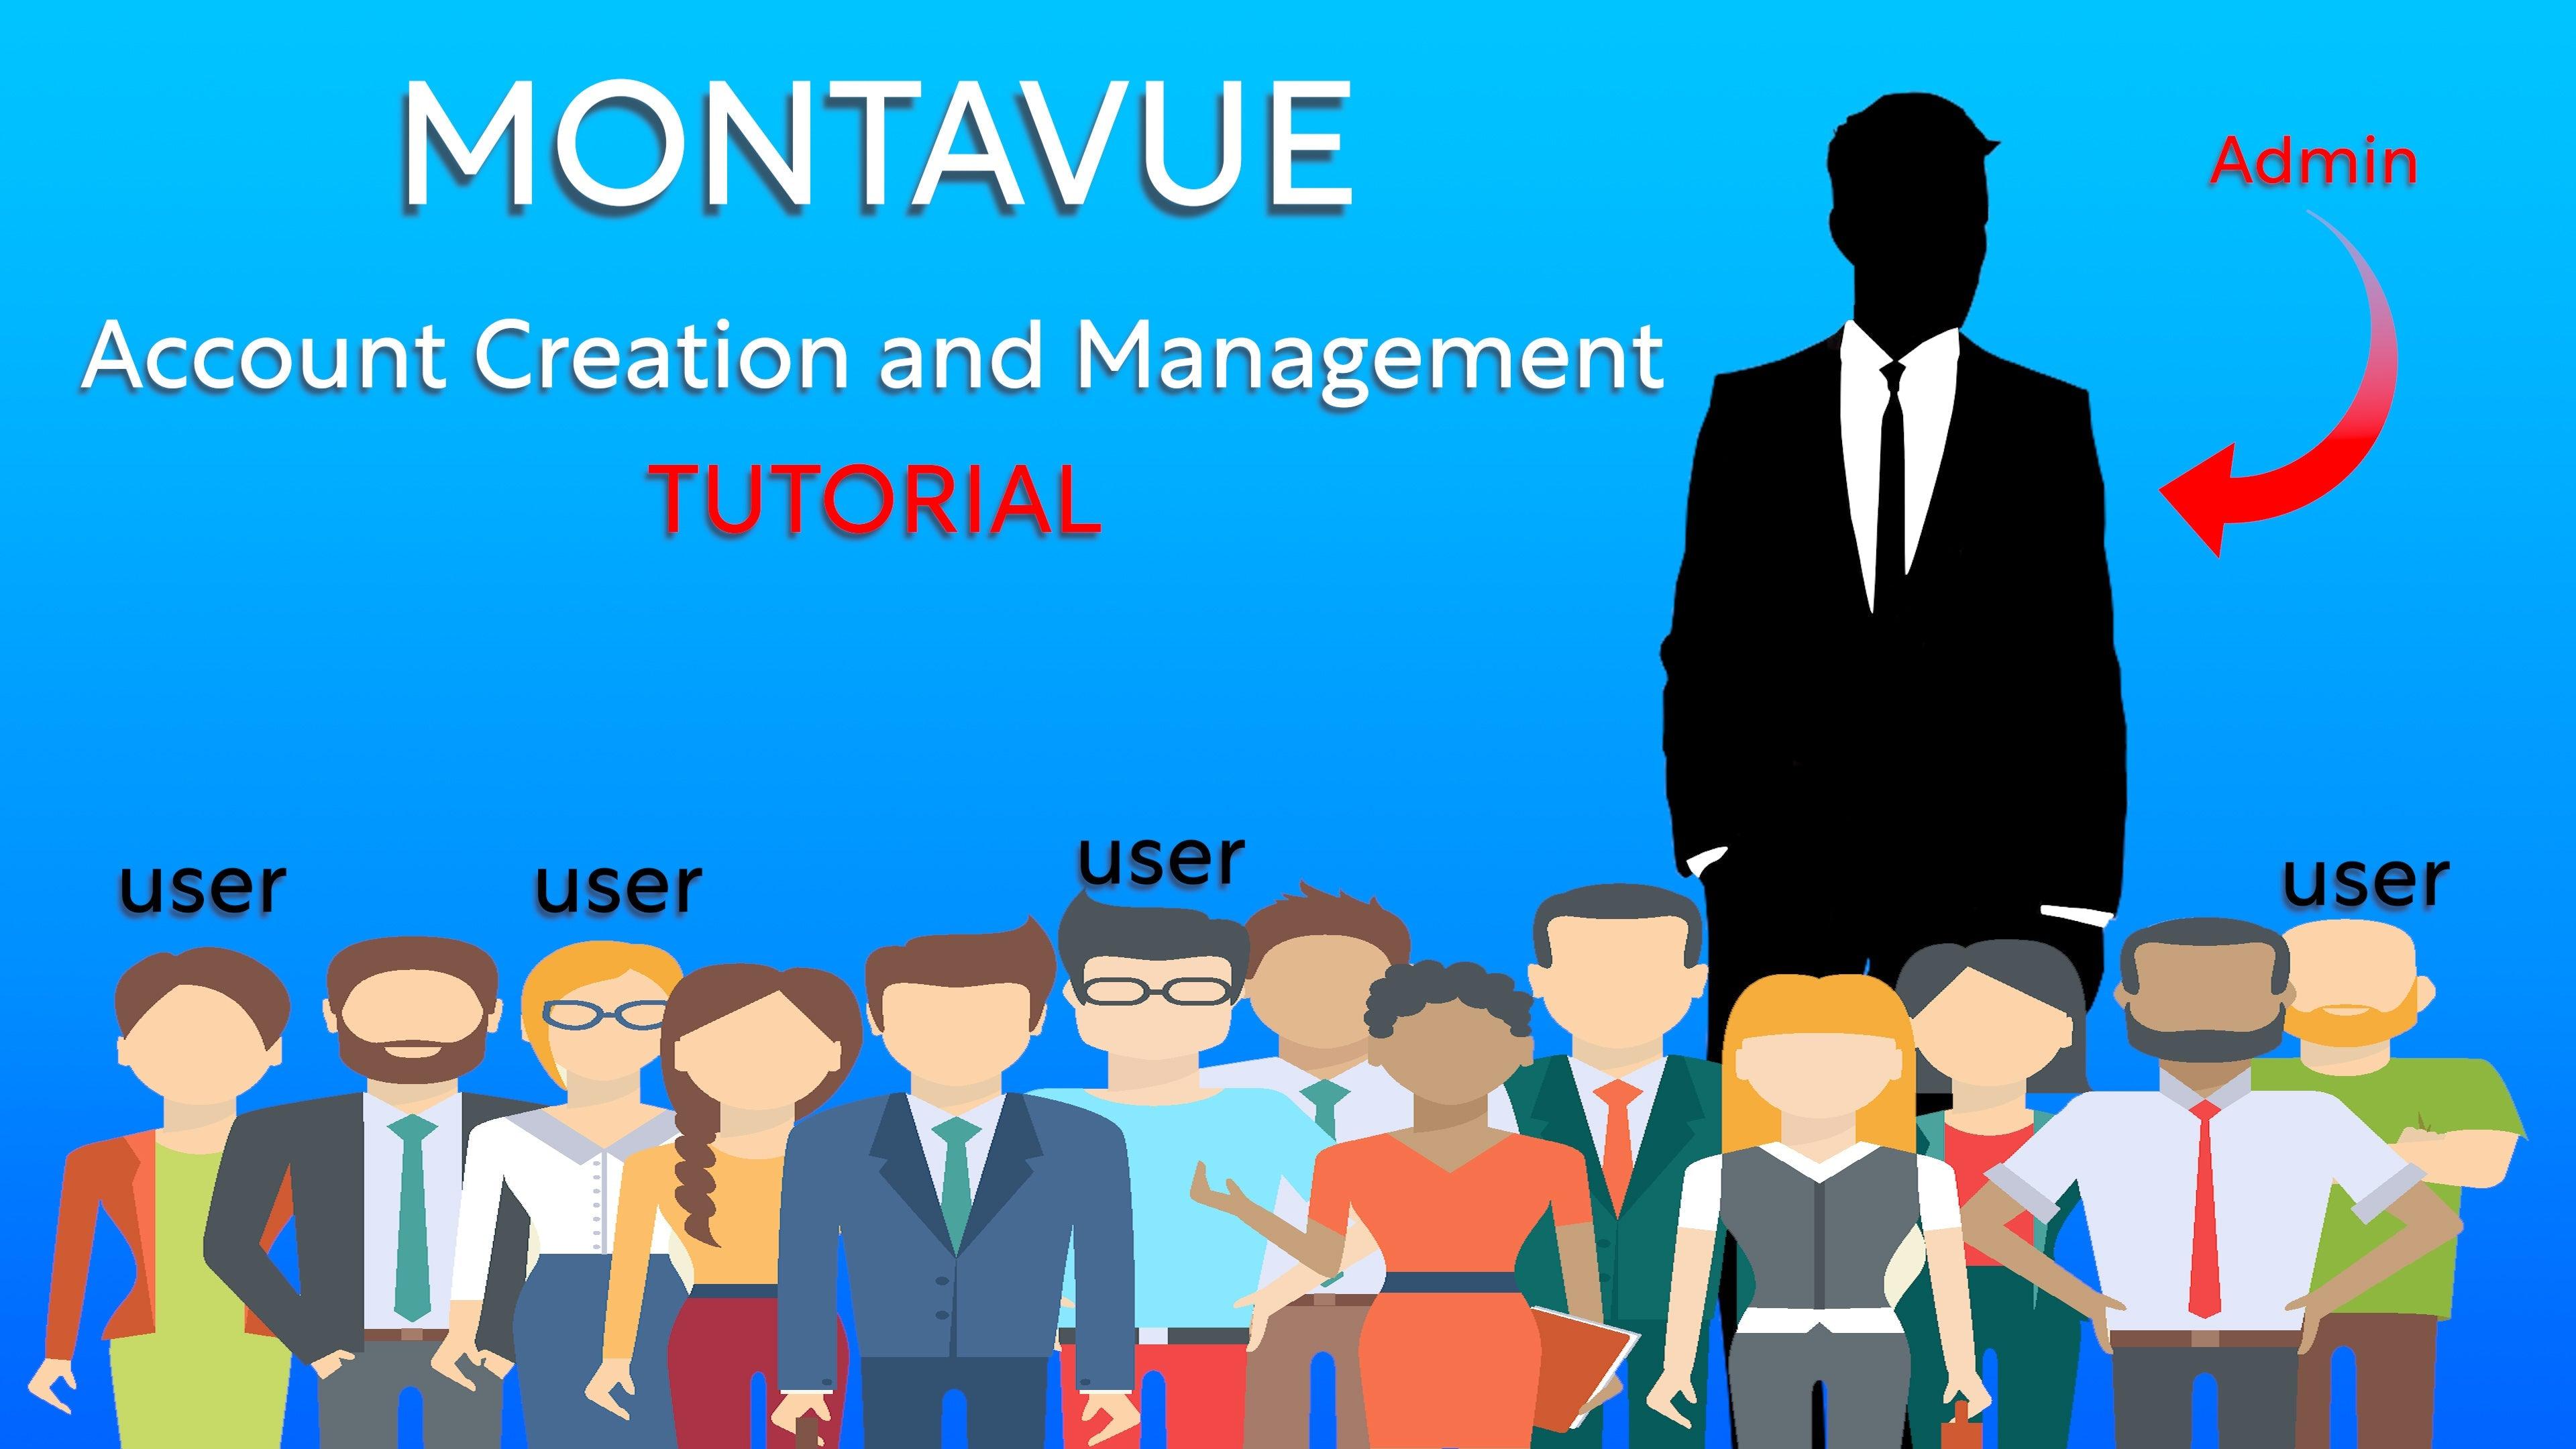
Video Transcription
hey guys welcome back to Montague today
in this video we're going to be showing
you how to create user accounts on your
montevue NVR this is going to be useful
for those of you that are business
owners because you can give certain
employees access to the system without
giving them full admin privileges
you can also do this for daycare centers
because parents want to check in on
their kids so you can give those parents
sub accounts and so that means they can
access it during certain times of the
day or certain cameras there's obviously
a lot of uses for making accounts so
stay tuned with this video we're going
to show you guys how that's done and
we're even going to show you guys how to
use those accounts within months if you
go the mobile application and the
desktop application so let's get started
all right guys for this next portion
we're gonna head over to the NVR
interface and we want to make sure that
we're going to log into the main menu as
the admin account
so once we're logged into the admin
account we're on the main menu we're
going to take a look at the account
section in the lower right corner go
ahead and click on that
and once we're in account we're going to
run the user page and we should see the
admin account here listed as the main
and only account so here we can modify
this but keep in mind you cannot delete
this so to make a sub account we want to
click on add that is in the lower left
corner here
and once we press add we're brought to
this creation screen first off we need
to give it a username for this example
I'm going to use test in all lowercase
letters you guys can use whatever you
want keep in mind you cannot use any
symbols in the name next we're going to
create a password it has to be eight
digits long and it has to have at least
a one number and one symbol and then of
course in confirm password section we're
going to just enter that again so that
they match
once you guys have your username and
password chosen then we're going to
choose the user group this particular
account belongs in and since we haven't
created any user groups your only choice
here is going to be the admin or the
user User Group
admin as you notice will not remove any
privileges but give you specific options
to choose those privileges whether you
want them on or not for this account
but if you choose user then it
automatically removes all of the system
privileges from that account
you can go one step further here and in
the live or the search tabs you can
decide what cameras or channels you want
this user to have access to keep in mind
search pertains to the playback
functions so the user will be able to
see or not see certain recorded footage
from this channel
on the live of course that pertains to
the live view the camera is currently
looking at and that's going to control
whether the user can see the live image
from that channel
once you guys have all the permissions
picked out you can go to this section
called period this essentially is the
schedule for when this person can access
their account and not only does this
pertain to the NVR but this is also
going to Port over to the mobile
application as well so if you guys own a
restaurant and you don't want your
employees seeing anything during the
weekdays when they're not working you
can go ahead and deselect Monday through
Thursday and then your employees will
only be able to access their account on
the weekend when you've designated so
for marking the schedule the squares are
in half hour blocks and they are set by
day of the week so any day that you guys
don't want them access to you just
simply left click Those portions and you
turn them from green to Black
any portions filled in green the user
will be able to access for those times
once you guys have that schedule all
filled out go ahead and press OK and
then once we're back to this main
creation screen we're going to press OK
again
and now we see that the test username is
up there and we have created an account
so now I'm going to give you guys an
example if you want to log out of your
admin account this little symbol in the
upper right corner it kind of looks like
a half of a square with an arrow coming
out of it to the right
you left click that it's going to give
you the option to log out so admin
accounts you guys are going to want to
make sure that you're constantly logging
out so that you don't accidentally leave
this thing signed in and a user is not
able to access things that they
shouldn't
for this example I've given this account
only access to the second camera for
both playback and live and I've removed
any sort of administration privileges
within the system so you'll see as I log
in and I try to go to different portions
of the NVR I will be restricted from
doing anything and you'll see this
little error message pop up which means
that it's working and I am properly
restricted from accessing it
however if you'll see when I go into
playback or search I can actually View
the second camera for which I have
permissions for the ones I don't you'll
see this little red lock symbol and that
means there is footage there but I just
don't have the proper permission to view
it for this next example I'm going to
show you guys what it looks like when
you schedule an account on a certain day
and they try to access it on a day that
they're not scheduled for so here I've
removed my permissions for Friday
because it is Friday the time I'm
filming this and then I'm going to log
out and try to log in as my user
once I do that you'll notice it says
login not in the specified time range
that's perfect that's exactly what we
want it means that this isn't my time to
be able to log in and so I'm being
denied this will do the same thing on
mobile applications on the phone and on
the desktop
okay now that we've created some users
I'm going to show you guys how to set up
a user group the purpose of a user group
is if you're going to have multiple
employees with access to the system you
can set up a broad range of privileges
that will apply to that specific user
group so here I'd like you guys to head
back to the account section so we're
going to log into the main menu we're
going to click on account and this time
we're going to click on group just
underneath user the purpose of a user
group is to have a broad set of
permissions that apply to anyone within
that group so for this example I'm going
to call it employee and I'm going to
assume that all of my employees will be
under this specific group so over here I
only want them access to the network
maintenance and manual control
and for searching live I'm going to give
them access to channels two and three
so now once I press OK and I've got that
saved I can now go create a user
I'm going to call them employee one and
if I put them under the user group of
employee all of those permissions I
previously set will now be applied to
this account
this makes it much easier to create
multiple accounts for multiple employees
and you don't have to adjust specific
permissions for each account this one
just kind of does a broad stroke of a
brush over all of them so it's much much
easier this way so here I'm going to
sign out I'm going to sign back in as
the employee number one
and you guys will see that I have
exactly the permissions that I was
granted through the admin account
all right guys when it comes to the
permissions portion you want to think
long and hard about who you're giving
permissions to and what they have access
to
um I have seen some kind of weird
stories back in my tech support days of
angry ex-girlfriends or disgruntled
employees that got onto the NVR and did
things like change the password knocked
it off the internet you name it so again
give a lot of thought to who you're
giving permissions to and what they have
permissions to do and that way you guys
protect your NVR from being sabotaged
because we've seen it before it
definitely happens
all right so that pretty much completes
the NVR side of things for creating
accounts so from here on we're actually
going to go next to the mobile
application and I'm going to show you
guys how you would create an account
there so
first off for the mobile or the desktop
applications we do have to create the
account on the NVR first so for these
examples I'm still going to use that
test account and I'm going to go pretty
much using that for all these examples
so now that I've created my test account
on my NVR and I have that specific
password and permissions I'm going to go
ahead and log into the mobile
application on my phone so if you guys
have employees or whoever's accessing
this account you would actually download
montevue go to their phone and then go
from there so here once I have montevue
go downloaded I'm going to press the
plus button in the upper right corner
I'm going to choose SN scan and I'm
going to go ahead and scan the QR code
for my NVR once I've scanned the QR code
just like normal I'm going to choose
local for my type and I'm going to hit
next
I'm going to choose NVR on this page and
I'm going to hit next
now once we're at the credentials page
the device name can be whatever you guys
want to call it and this time instead of
the admin username we are going to use
the username that you guys gave the
account so for this example I'm going to
use test
and then I'm going to use the specific
password that I've given my test account
once that information is added go ahead
and hit save in the upper right corner
so as you guys can see here once I've
loaded my cameras I only have access to
camera 2 just like the permission says
on the NVR and then the other ones
you'll say no permission to work online
so again the same thing is going to be
pertaining to the playback section I'm
only going to be able to see camera 2.
so if I've scheduled permissions to not
access this particular account on this
day then the Mobile account would also
not allow me to access that account so
keep in mind whatever schedule you guys
set at the NVR side of things will
pertain to both mobile and the desktop
versions of montevigo
all right guys for this next portion of
the video I'm going to take you through
the desktop version of montevuco and
setting up your accounts through that it
is a little bit more complicated so stay
with me so first off you do want to
create your account just like normal on
the NVR give it a name again I'm going
to use test as my username and a
password
once you guys have created that I would
like you to download the desktop
application or open it up
and the software itself has a username
and a password that is completely
separate from what is on the NVR so if
you guys have a single computer that you
use at your office or your work
you're going to want to give each
individual user a different login for
the software side of things
so for the desktop version it's going to
get a little tricky what we need to do
is we actually have to create two
accounts one has to be on the desktop
application itself and then of course
the other one is the account that we
created on the NVR so for starters I'm
going to log in as in my admin account
to my software
from the main menu I'm going to select
user in the lower right
once we're in the user page you're going
to see the icon in the upper left corner
for new user I'd like you guys to left
click on that and then we're going to
create a user and I'm going to call this
employee one keep in mind that you'll
have to do this for every employee that
you want to have access to this computer
for each account that you make on the
NVR you're going to want to make an
account on the montevue go desktop
software just like so
up above here is where we can set
permissions for the account but keep in
mind if you guys have already set the
permissions on the NVR side of things
then those are going to carry over and
we don't really have to mess with these
The Next Step here is to add the NVR
under the employee account so the first
thing I need to do is I need to sign out
of my admin account in the upper right
corner and I'm going to switch users by
signing into my newly created employee
One account
so you'll see here I'm going to log in
as employee one I'm going to have my own
password I'm going to log in however
because I'm just logging into the
software I'm technically not logged into
my account on the NVR I have to now add
the NVR as a device to this account
I know this is getting a little
complicated but stay with me
so I'm going to be brought to the
devices page when I'm first logging in
I'm going to press this add button up
here
I'm going to change the method to add to
SN for device support So once I have my
serial number entered I'm going to use
the test username I'm going to use the
test password
and then I'm going to press add down
here
you'll see it goes up to this device
Pages it clicks online
and now I'm going to show you guys
accessing the live portions
and I only have access to Channel 2 just
like I stated on the NVR side of things
so as you can see all those permissions
Port over to whatever sort of interface
you're using
all right now that you guys can see I
have that added to the desktop app that
is pretty much it so we are completely
finished adding accounts and we should
be good to go from here all right that
is all the info I have about making
accounts on the Montague system if you
guys have any questions about this
process give our tech support a call we
are here Monday through Friday to answer
any questions you guys have related to
montevue as always I appreciate you guys
checking out the videos please like And
subscribe down below and we'll see you
guys next time thank you for choosing
Montague and have a fantastic day